

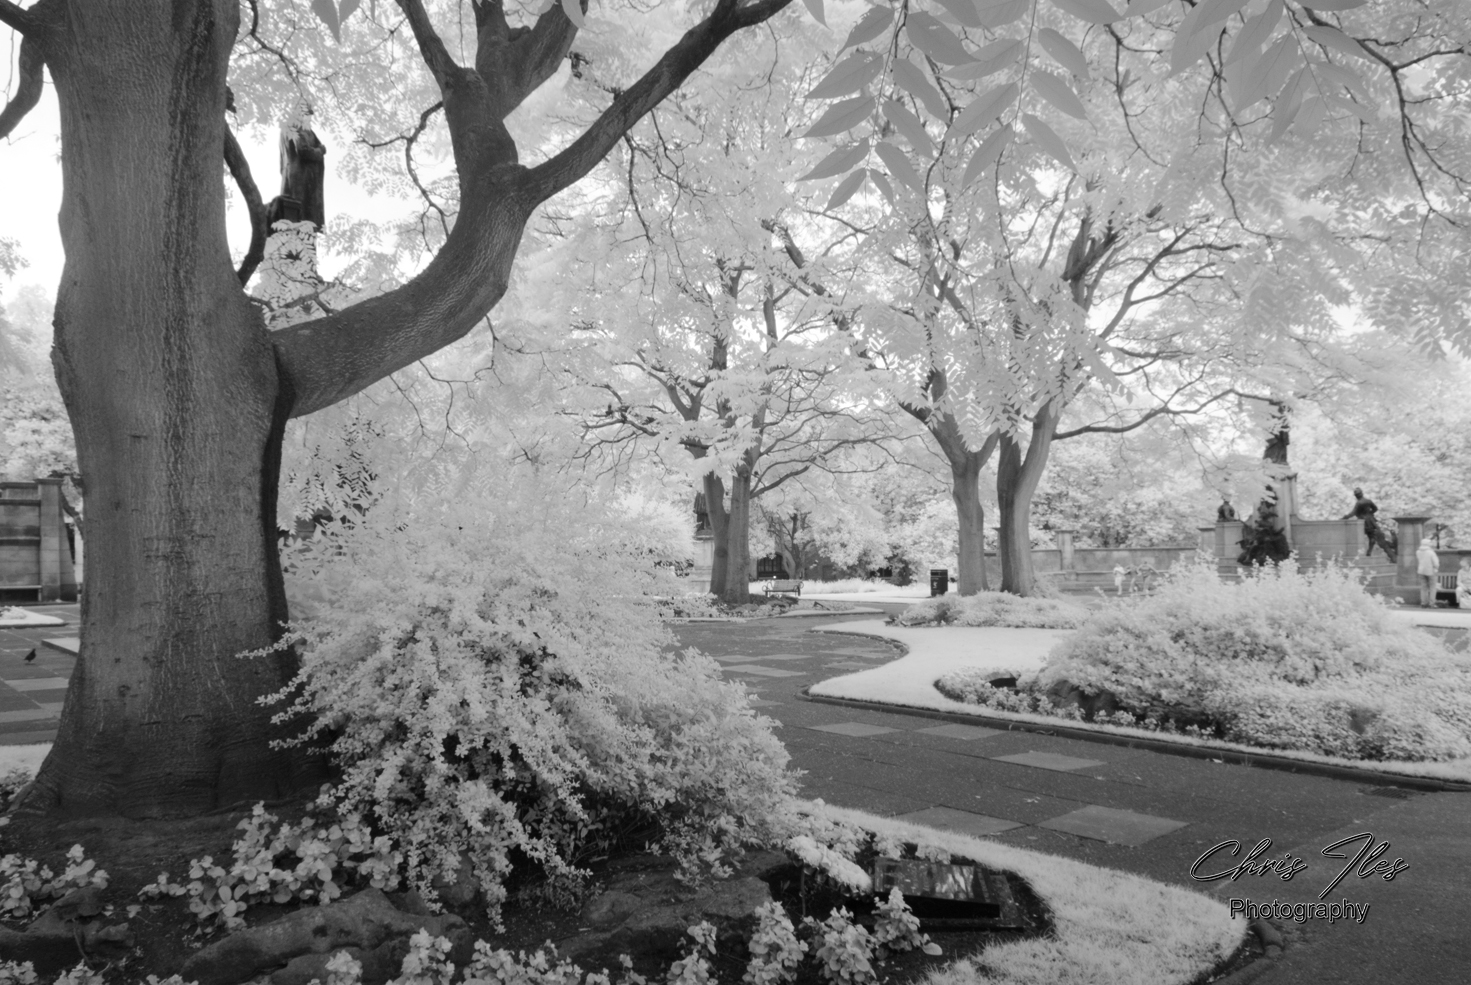
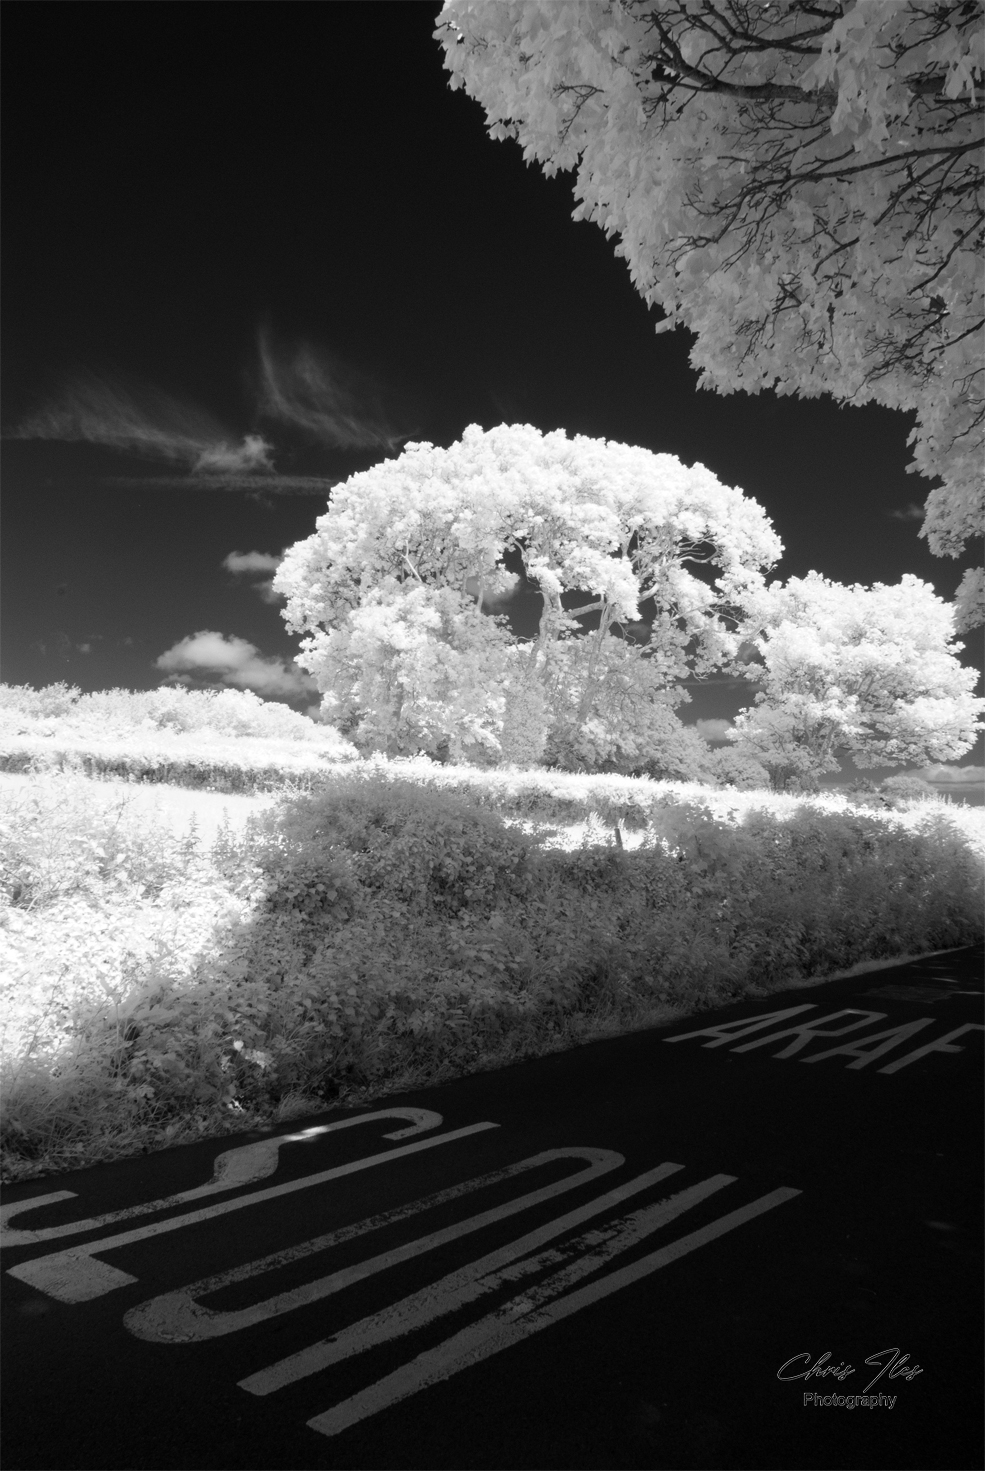
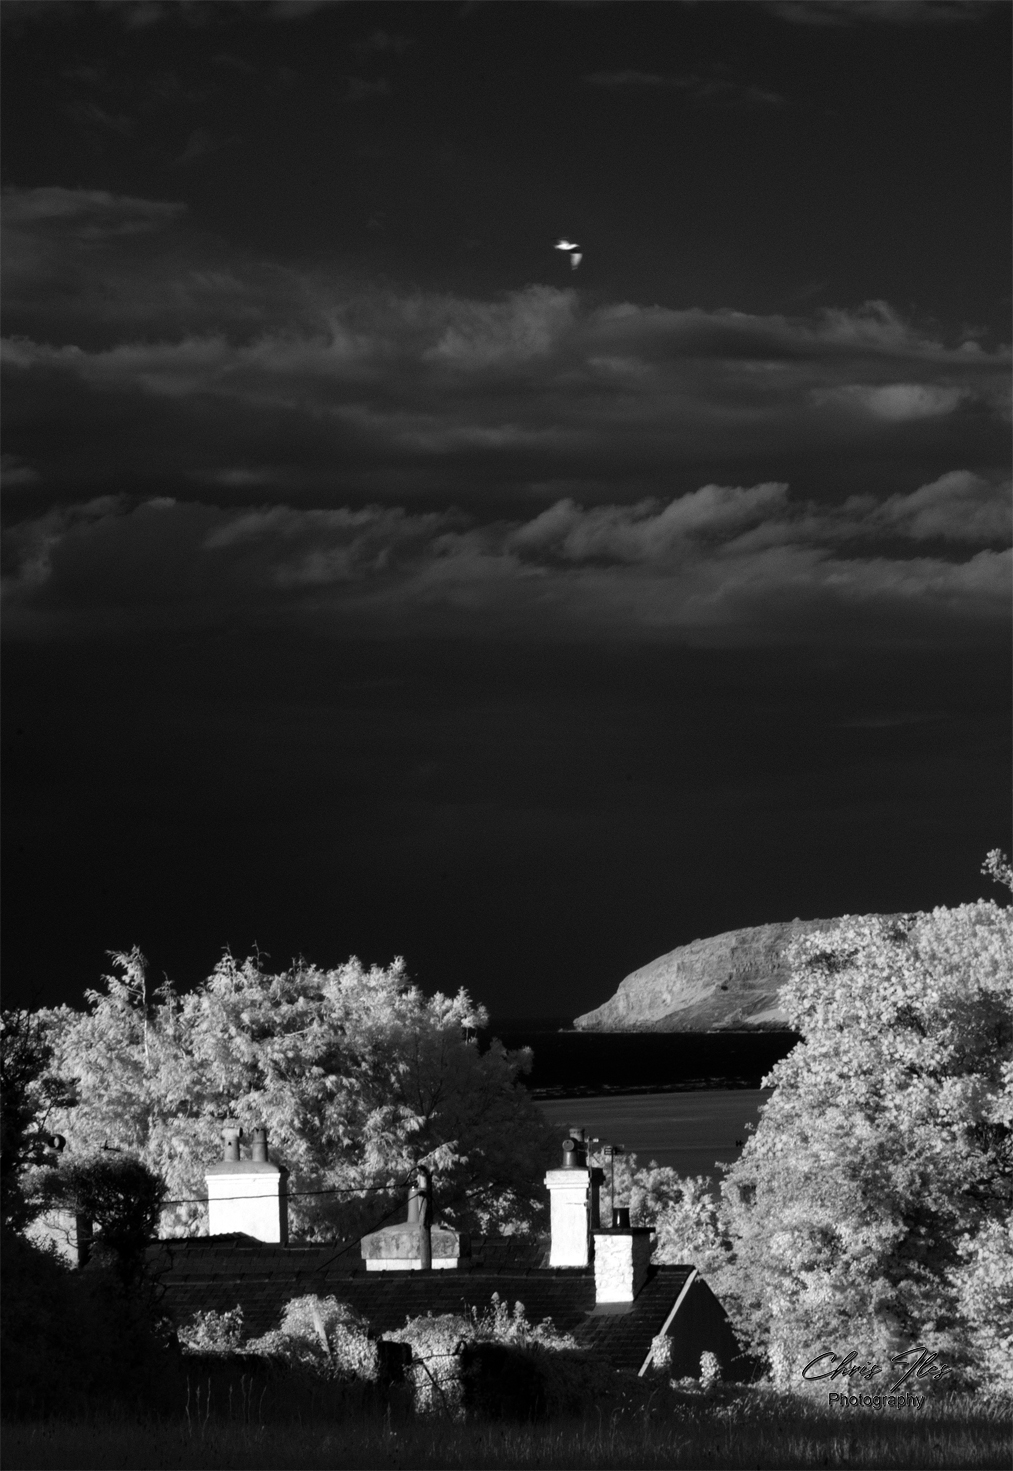
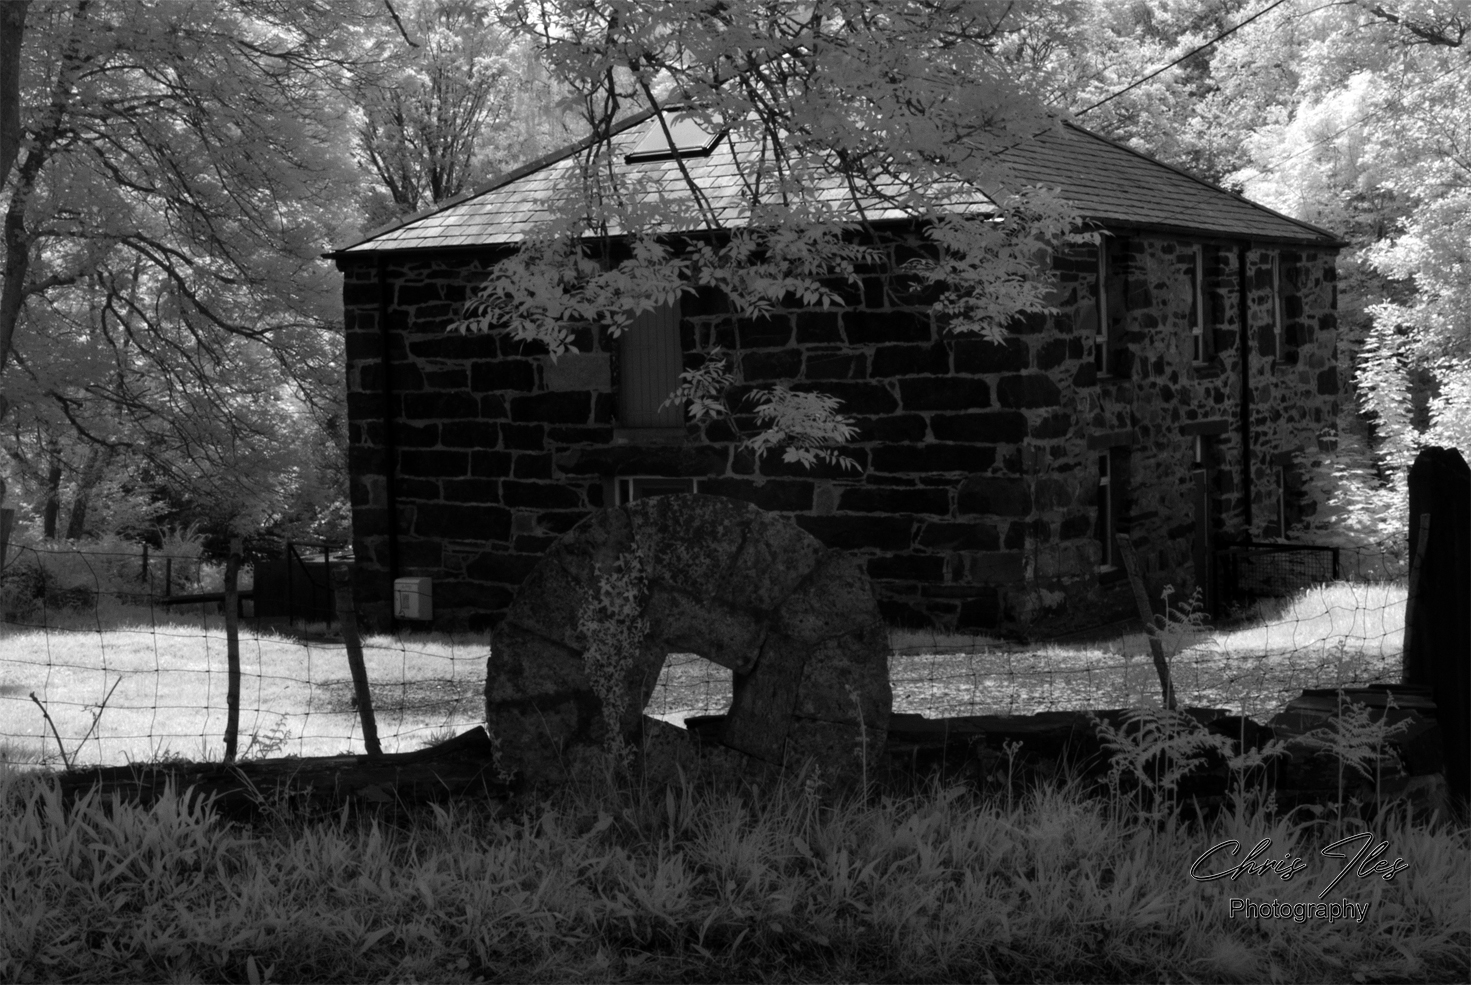
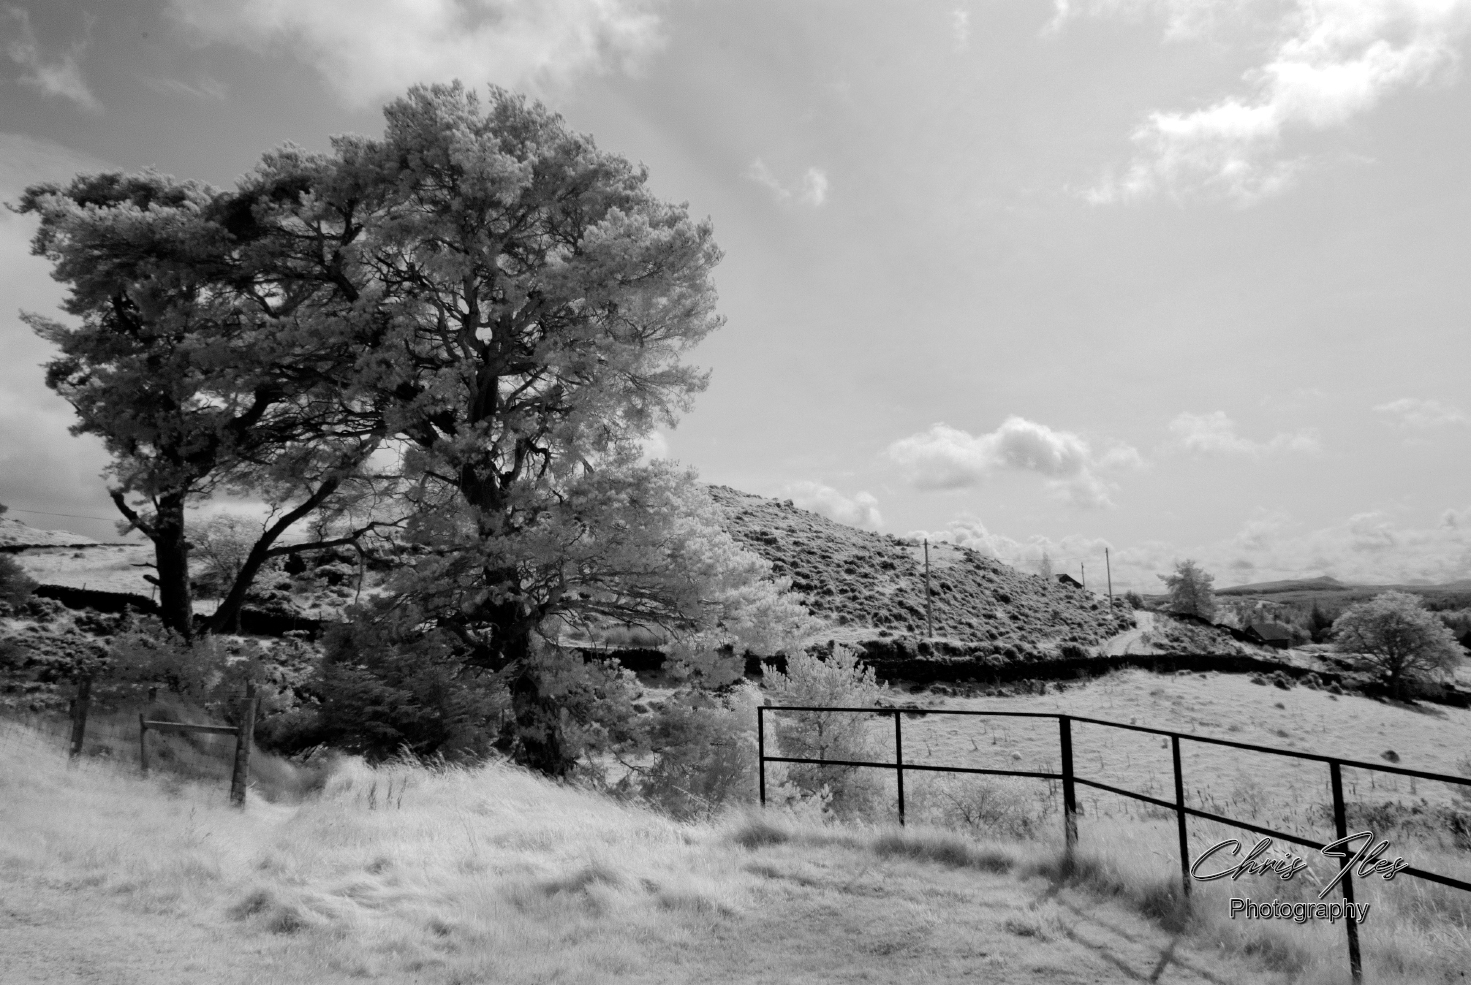
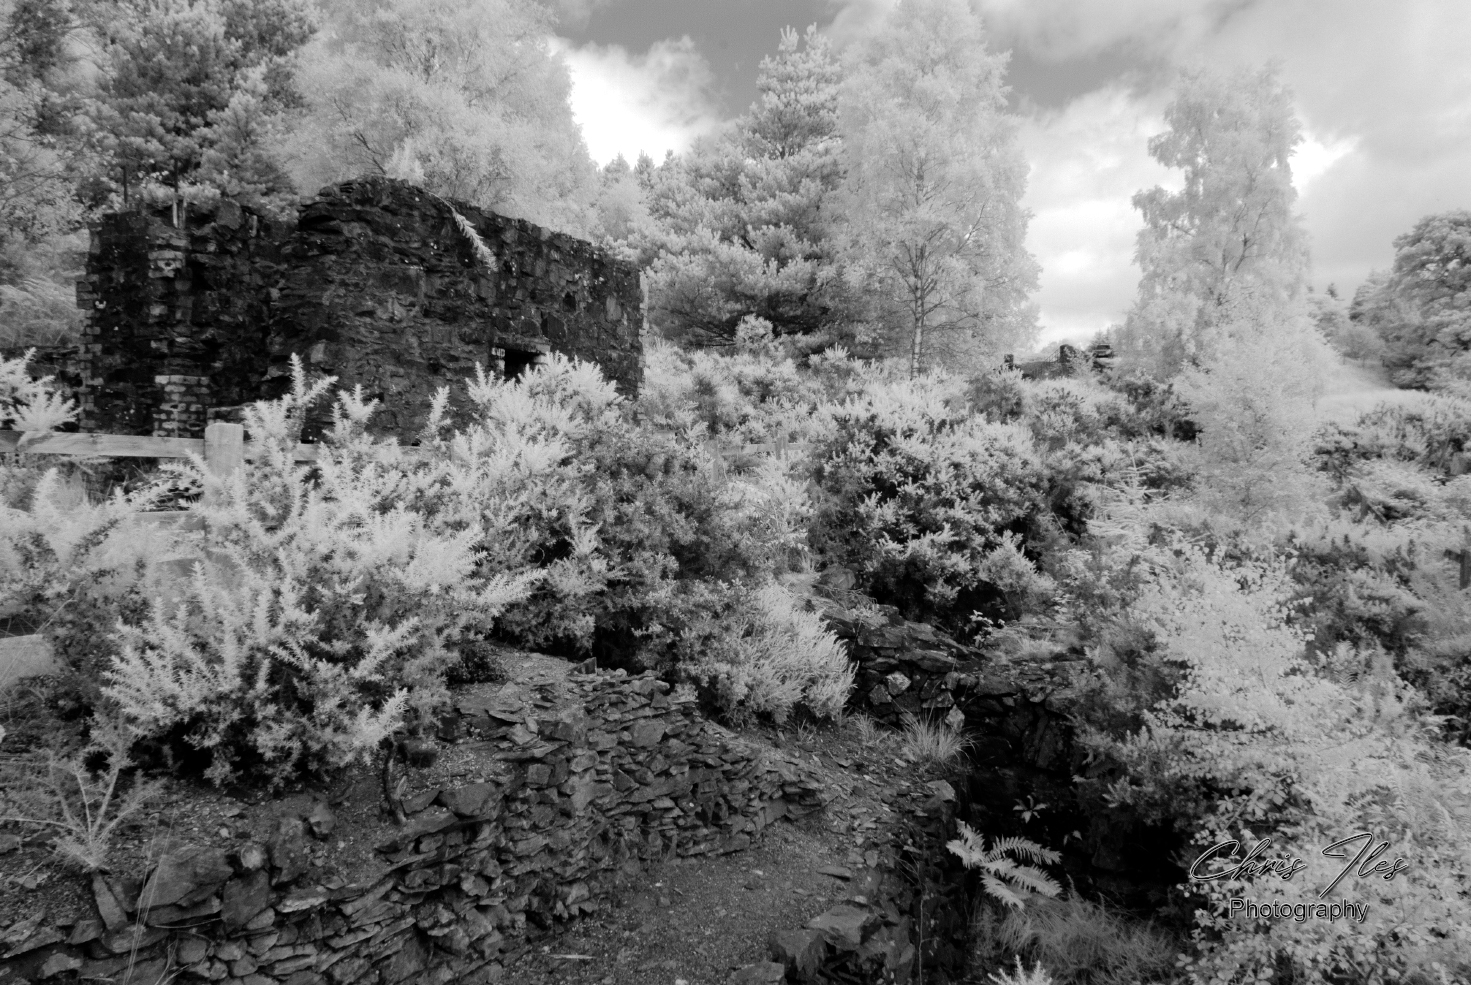
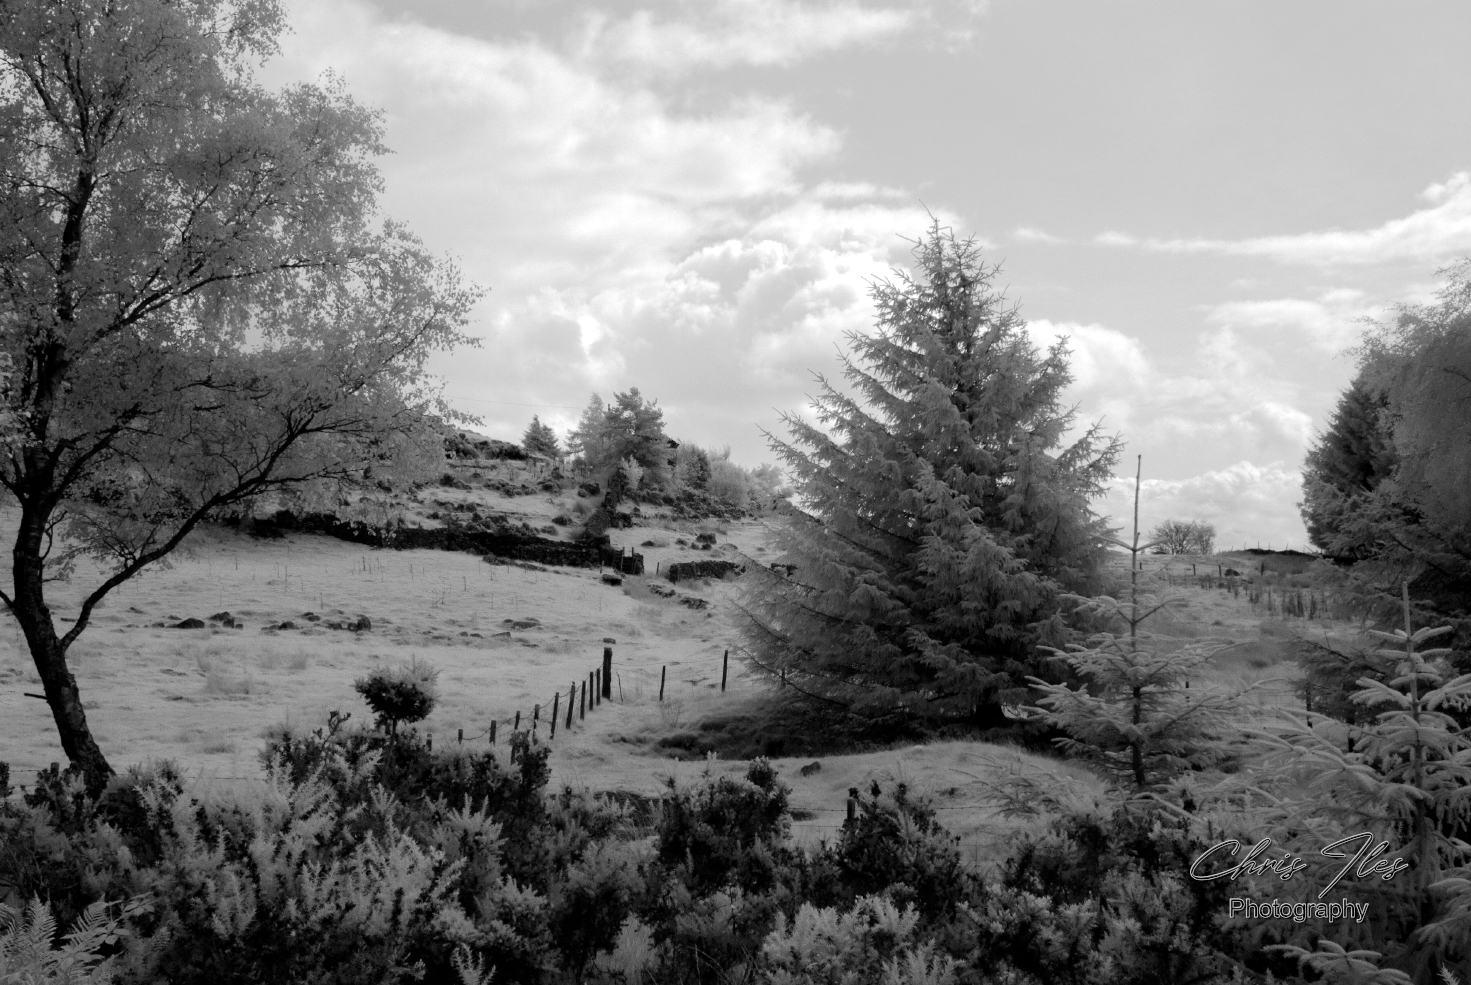
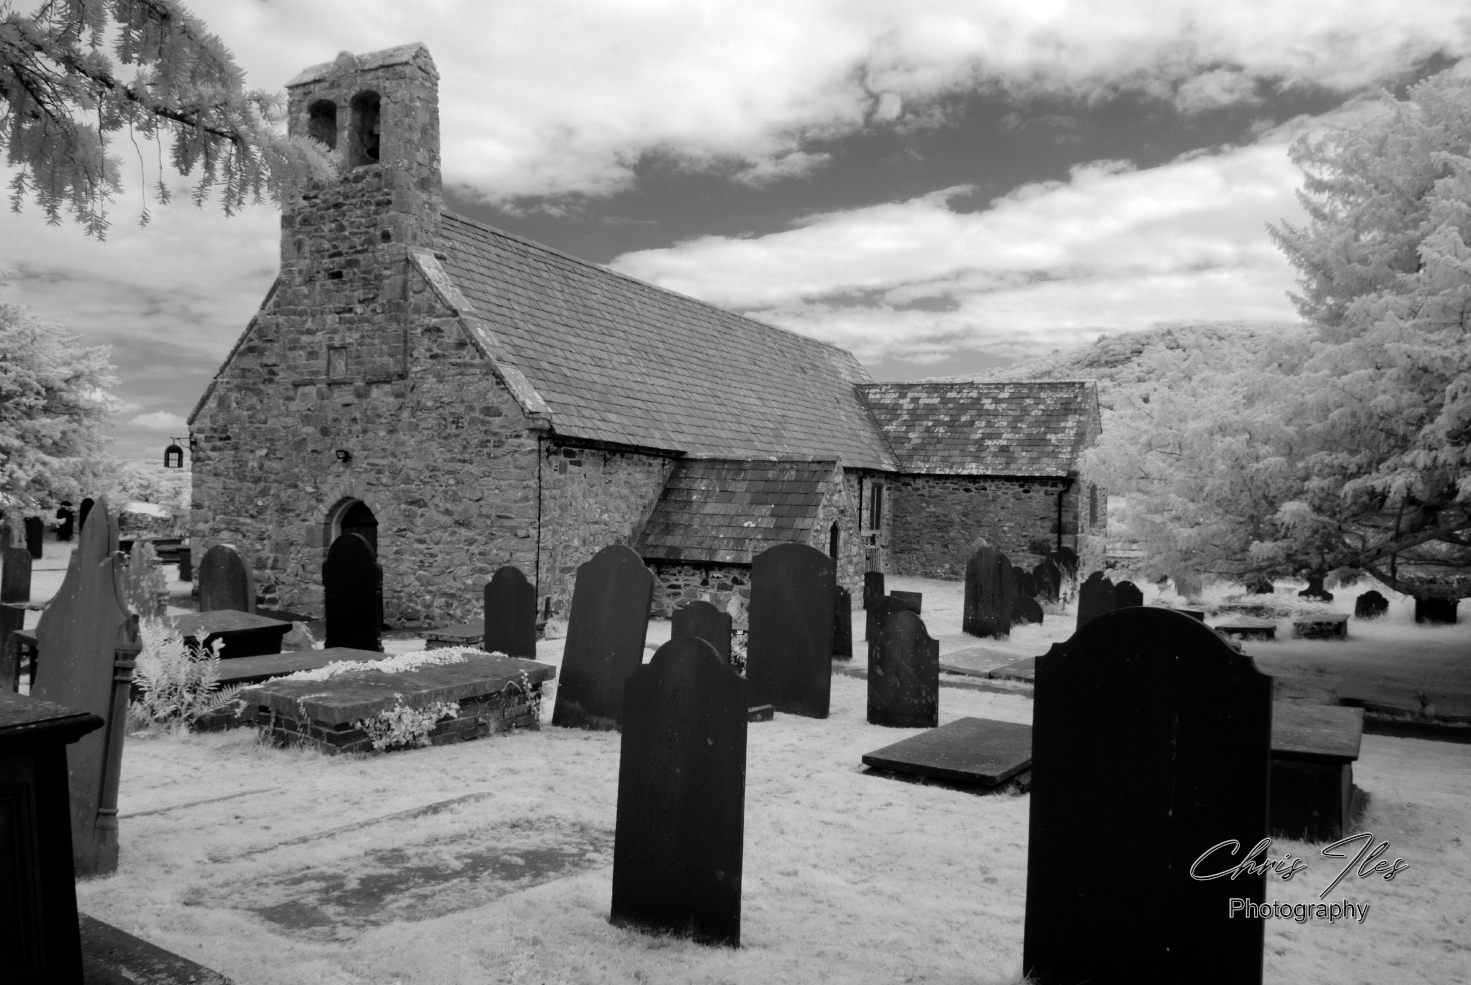
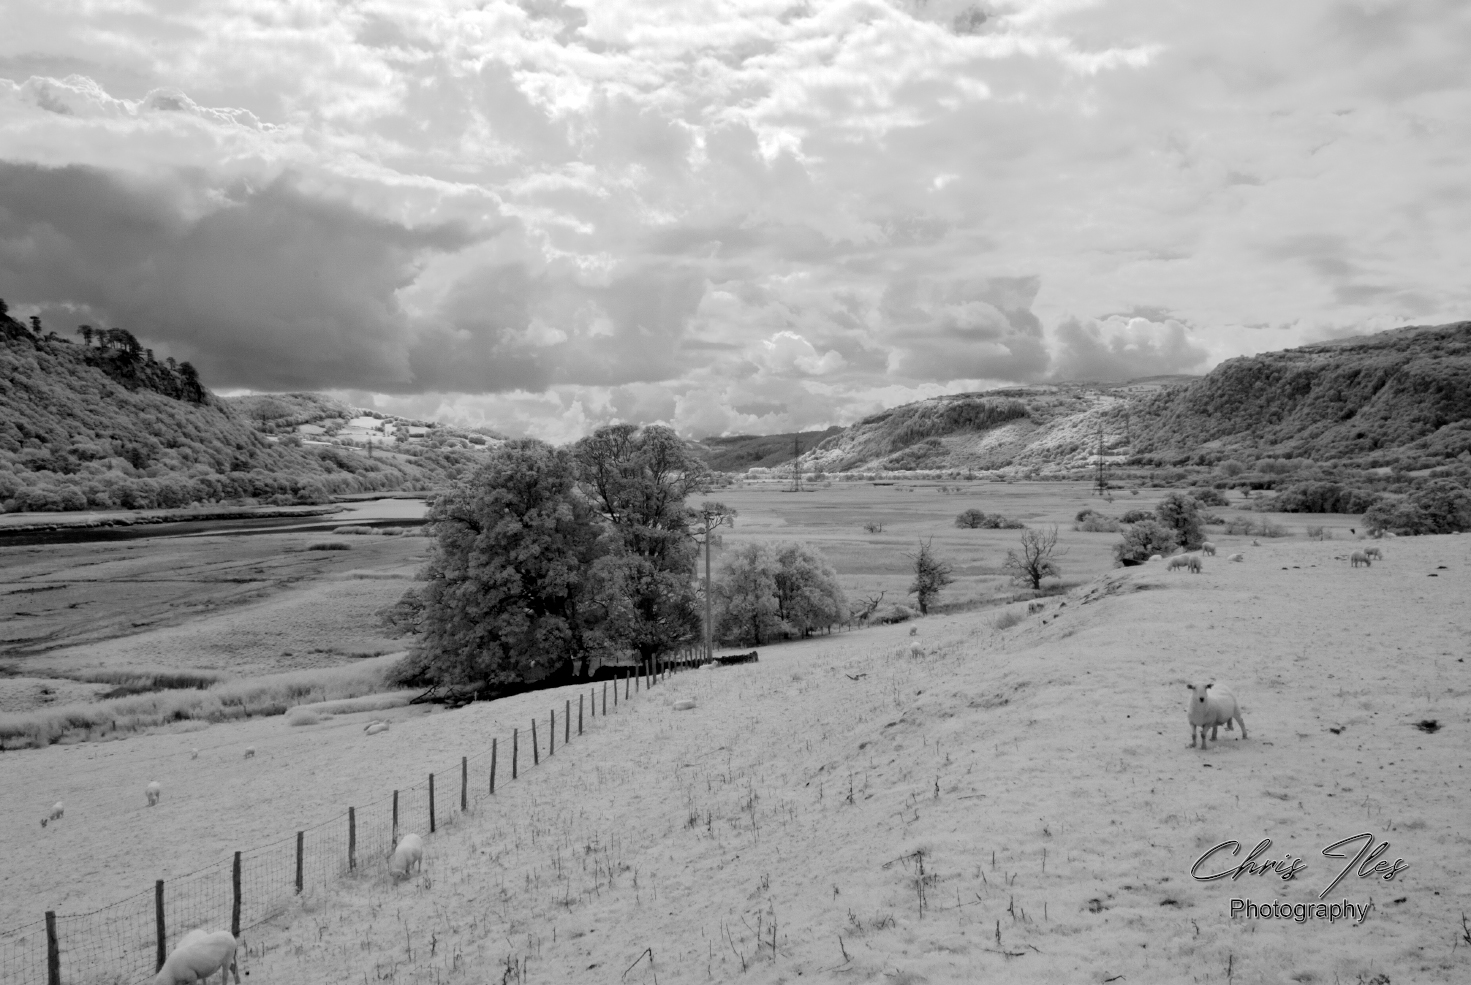
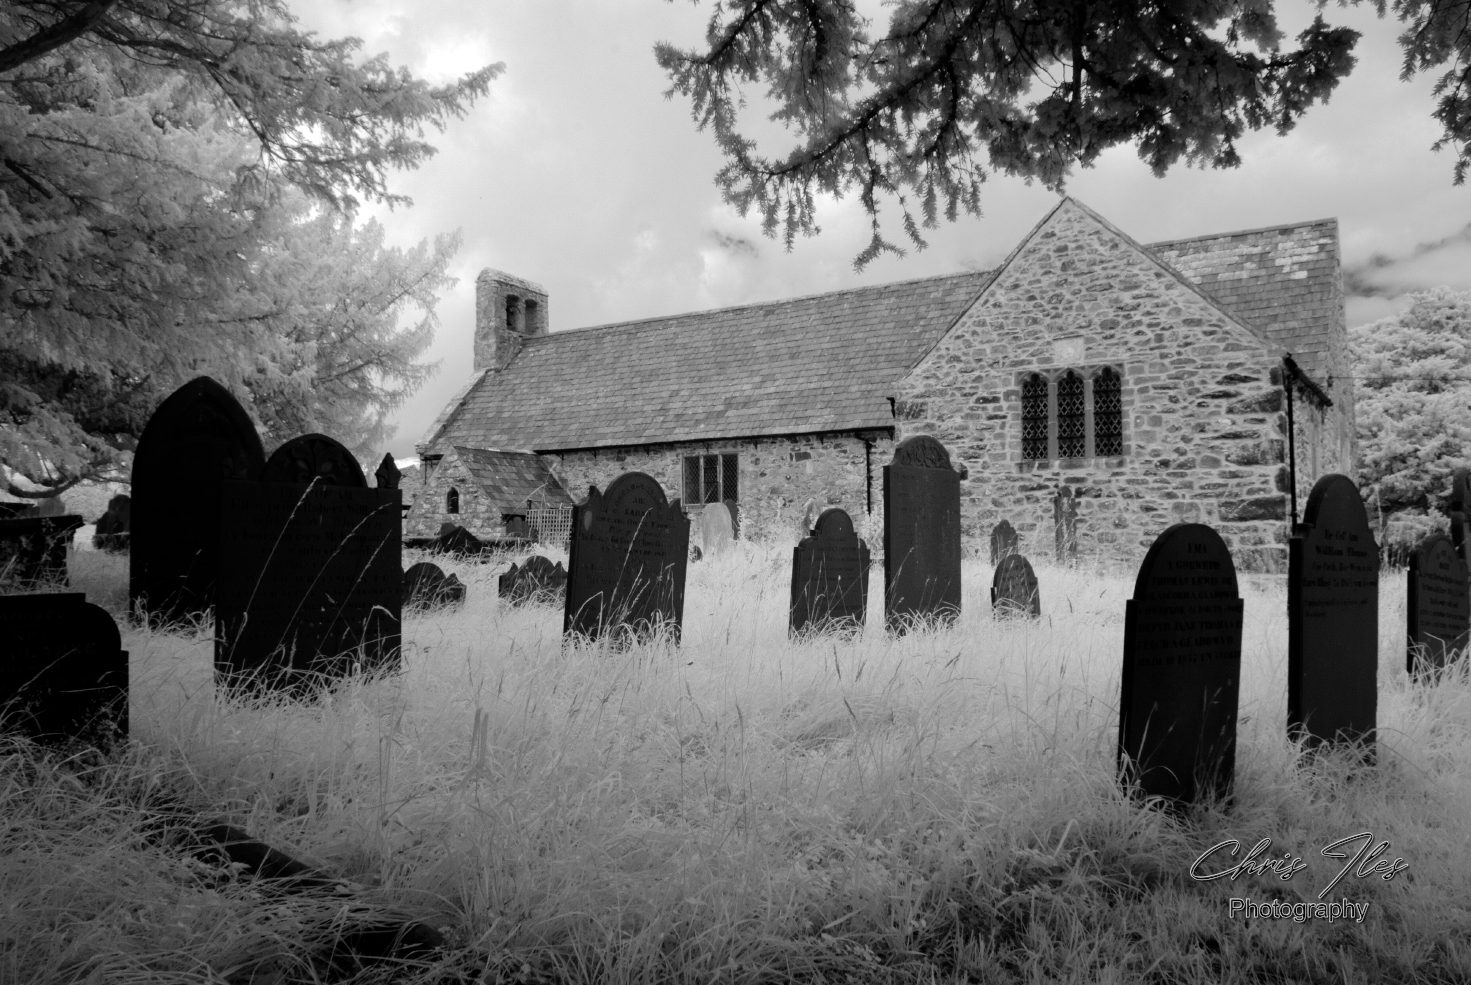
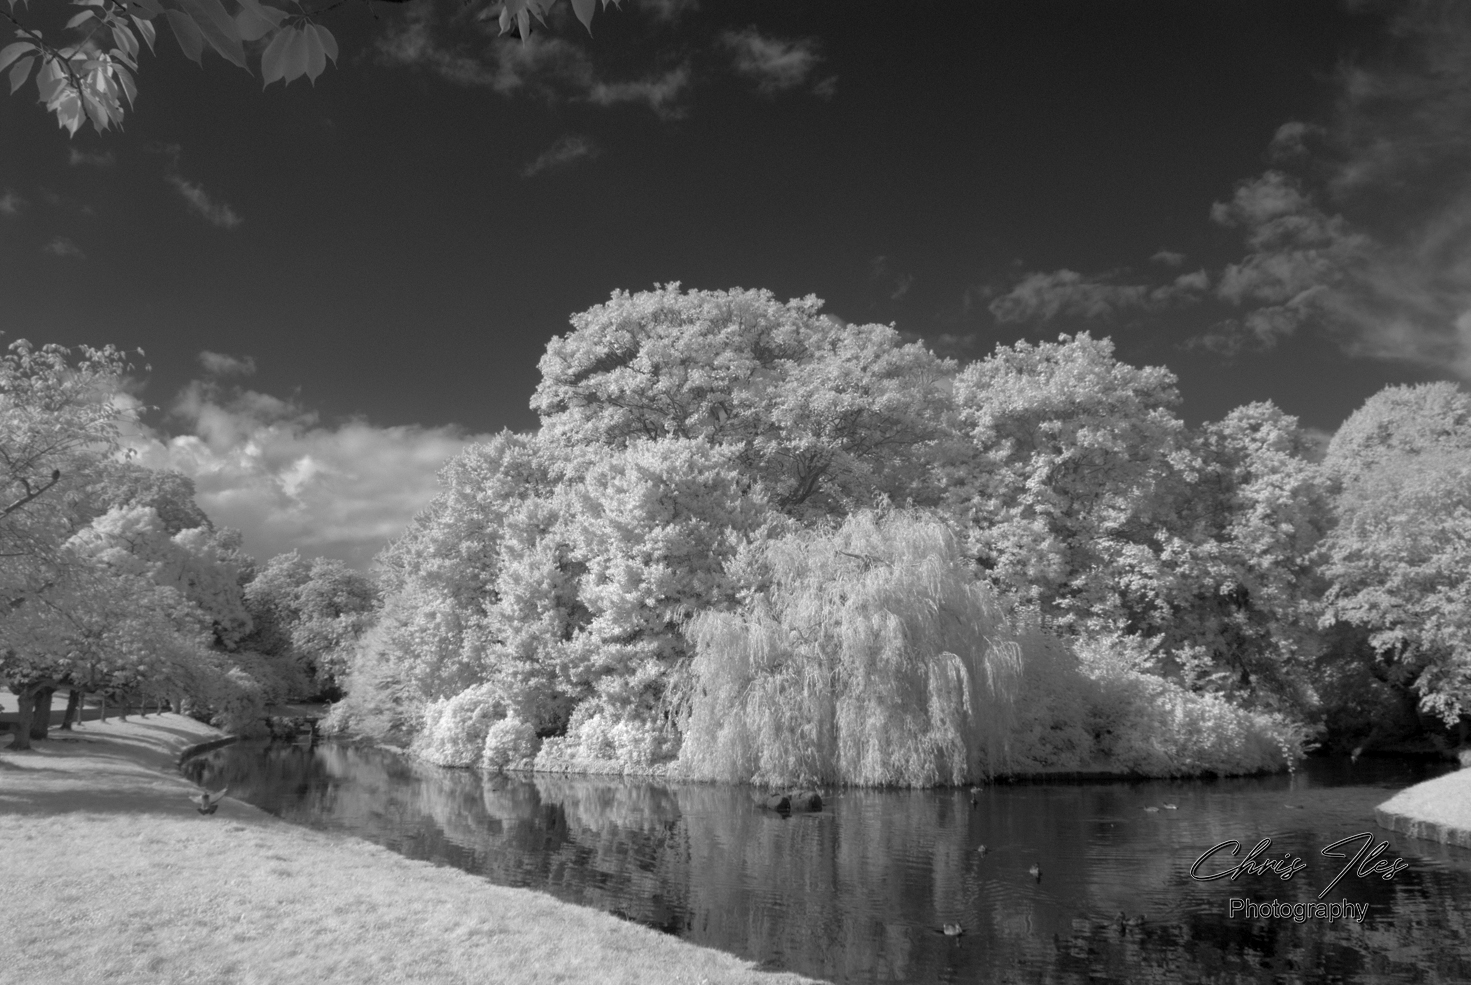
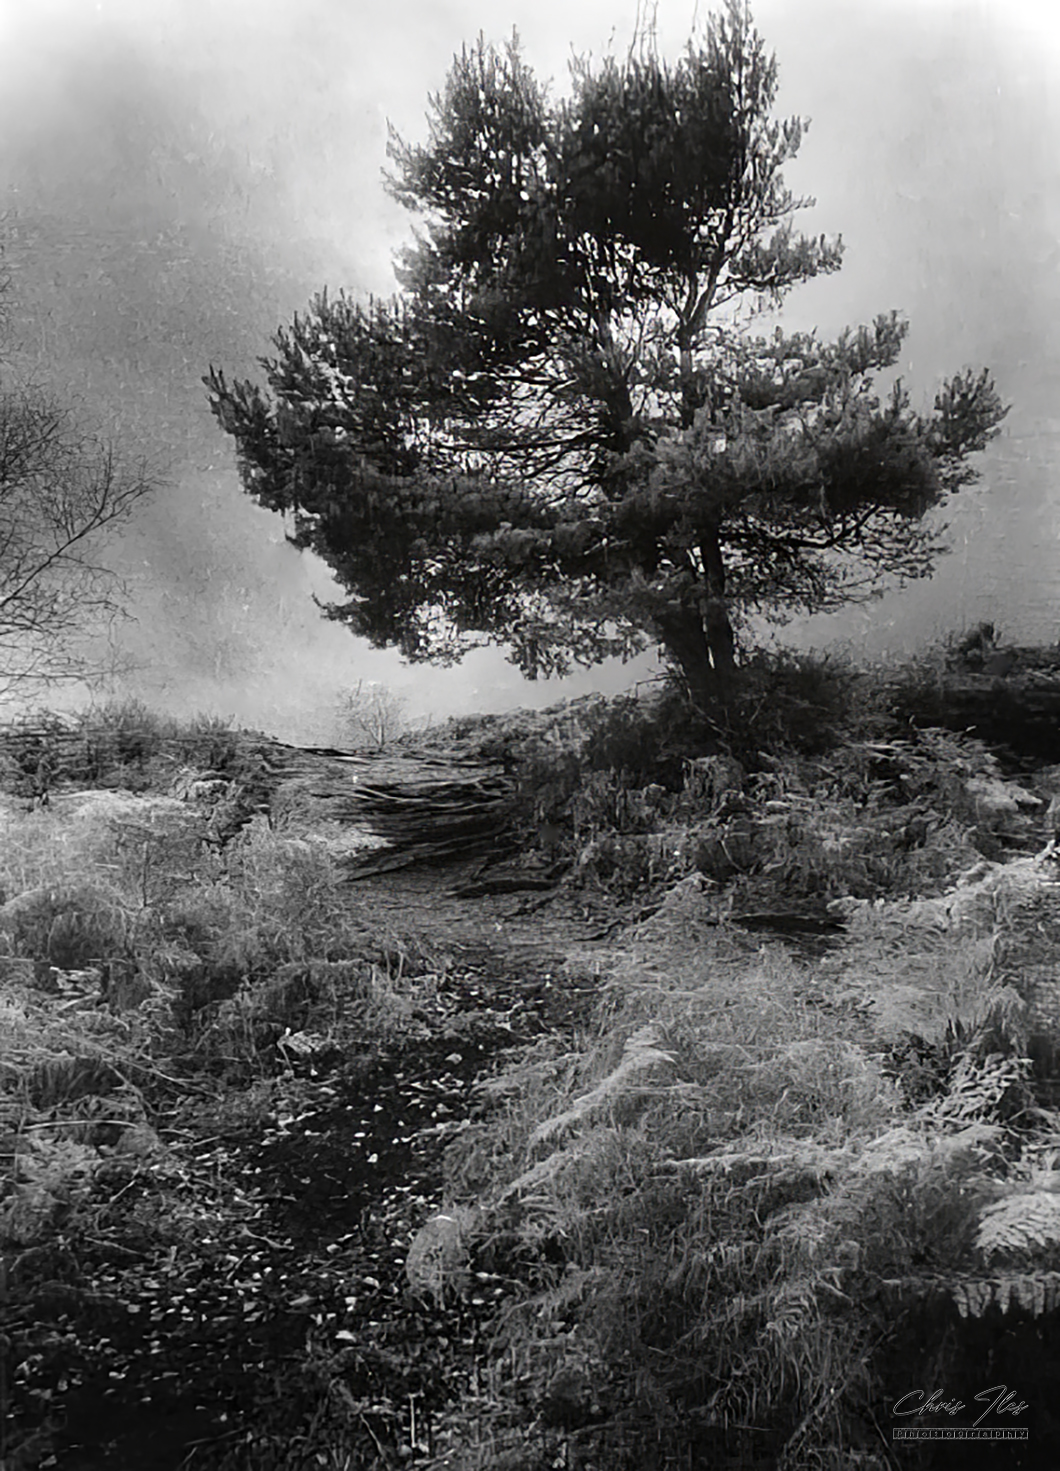
One of my favourite forms of photography has always been Infra-Red, not only for the resulting images, but also for the interesting process necessary to achieve your finished photograph. In the good old days of film, Infra-Red wasn’t the easiest form of imaging, simply loading the camera should ideally be done in darkness. When taking pictures, an Infra-Red filter is required to stop visible light from entering the camera lens, whilst allowing the Infra-Red light waves from outside our visual spectrum to expose the film. Of course the downside of this, especially with SLR camera’s is that the Infra-Red filter also makes it impossible to compose or focus your image through the viewfinder. Image focus also needs correcting due to Infra-Red light having a longer wavelength than normal visible light, meaning the focus point of visible light is different to that of Infra-Red light.
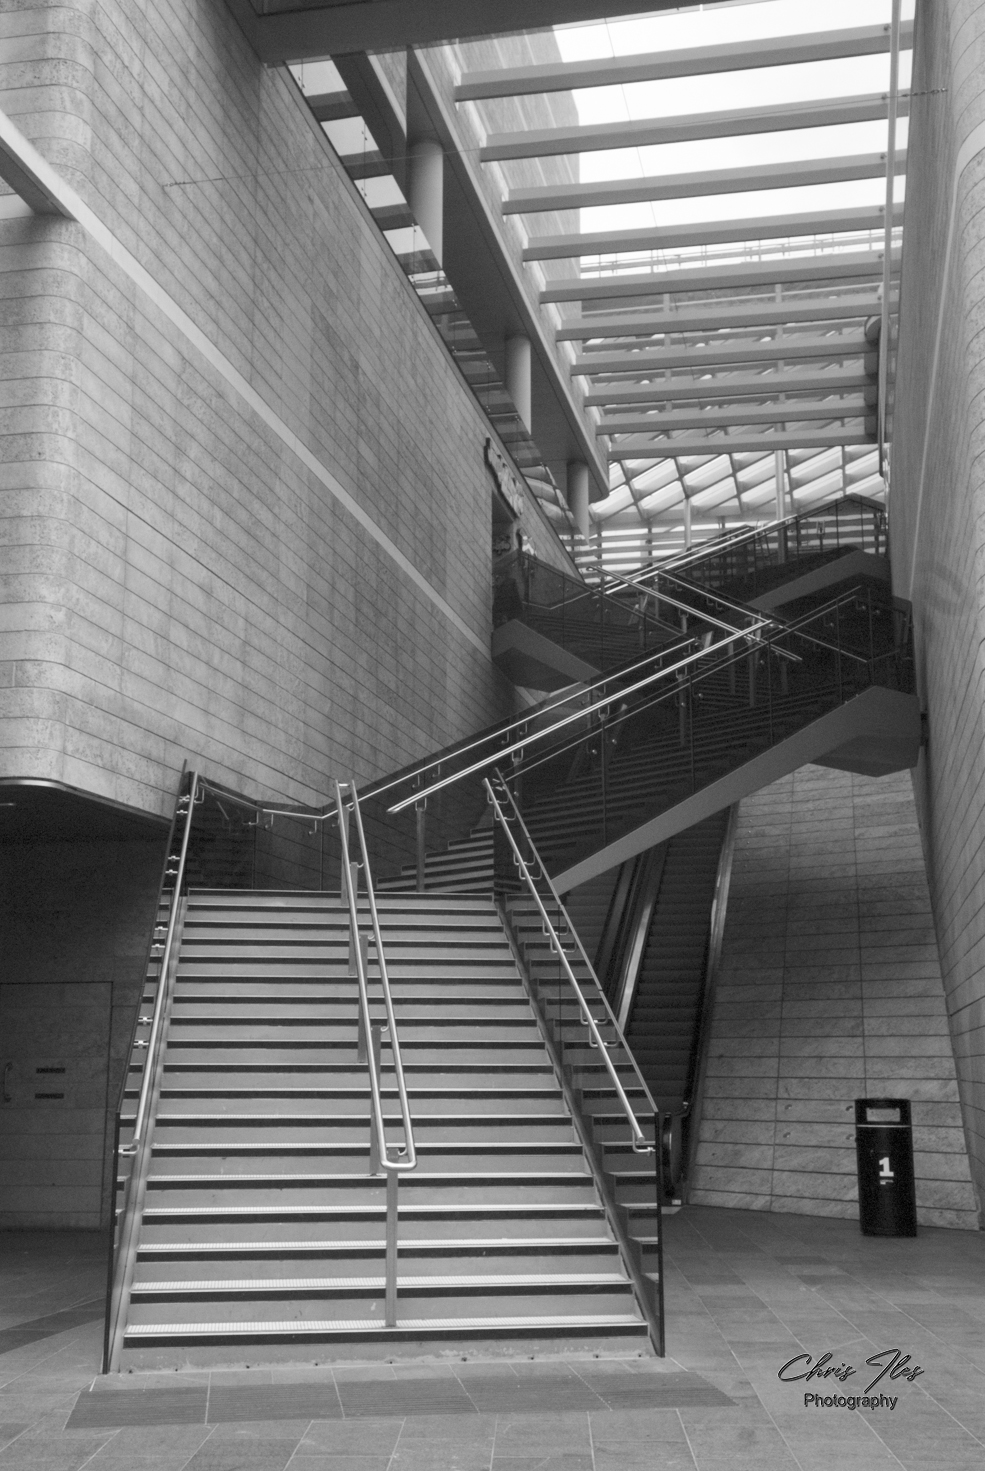
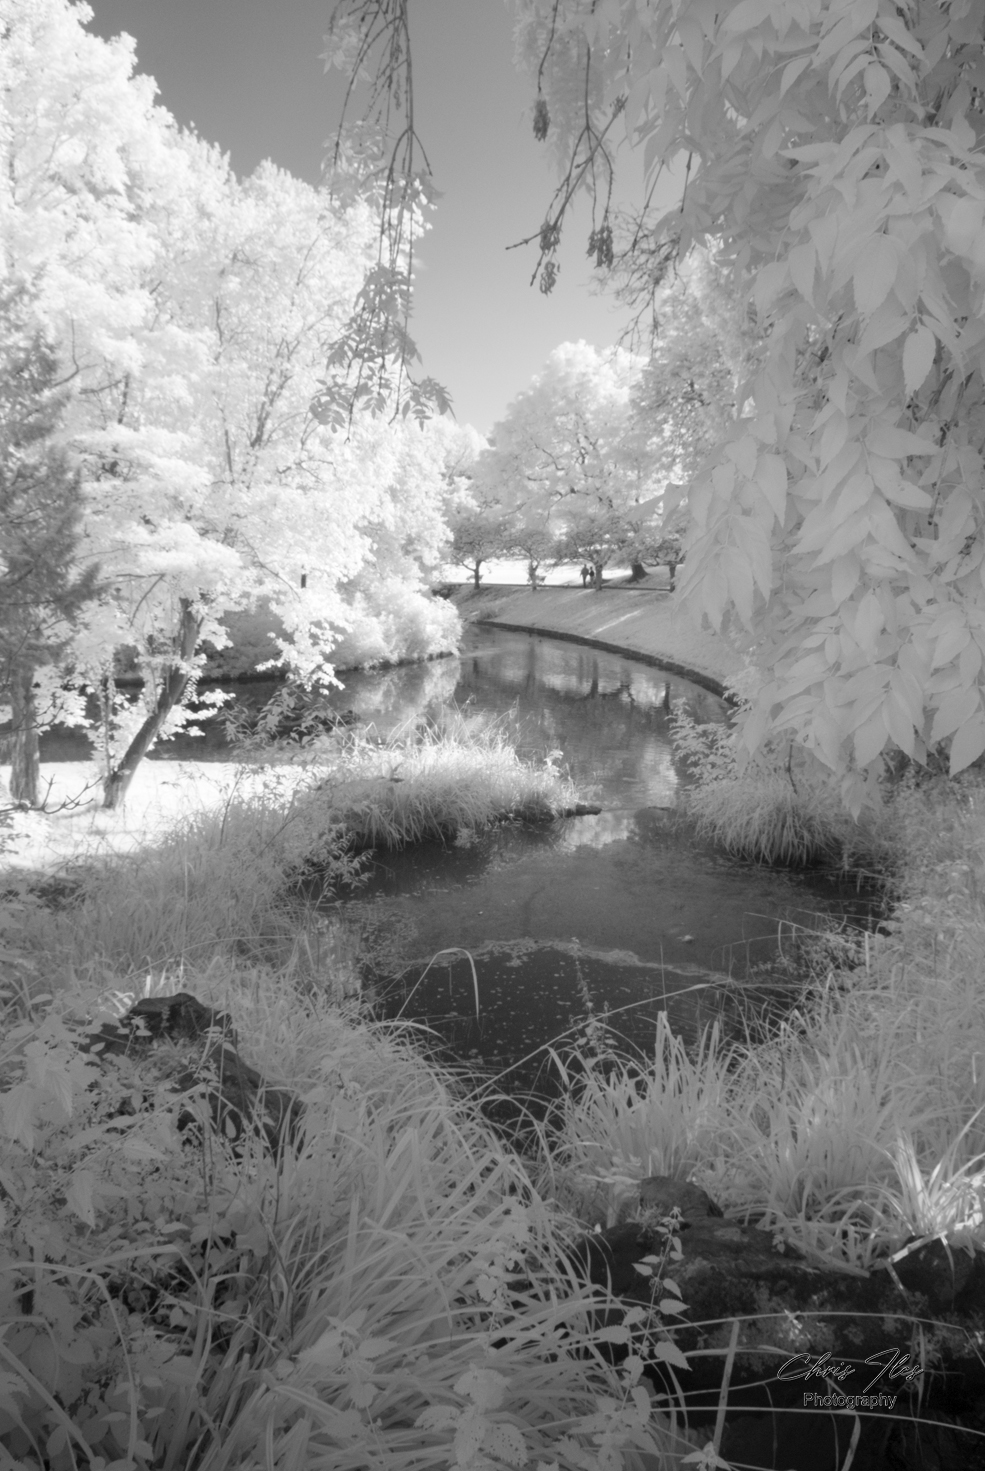
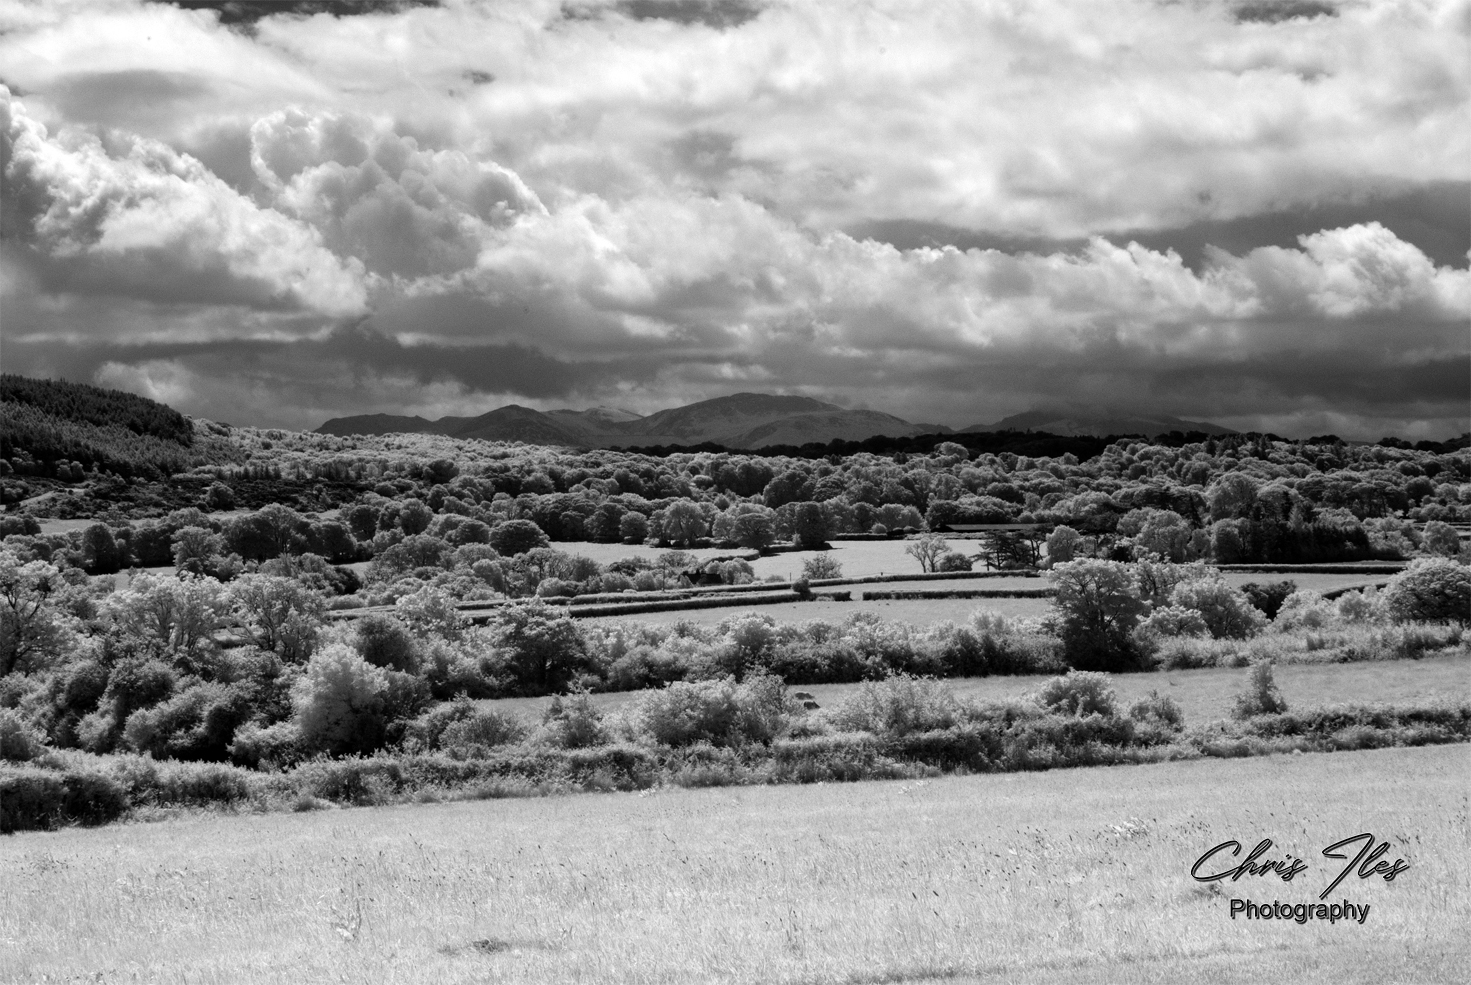
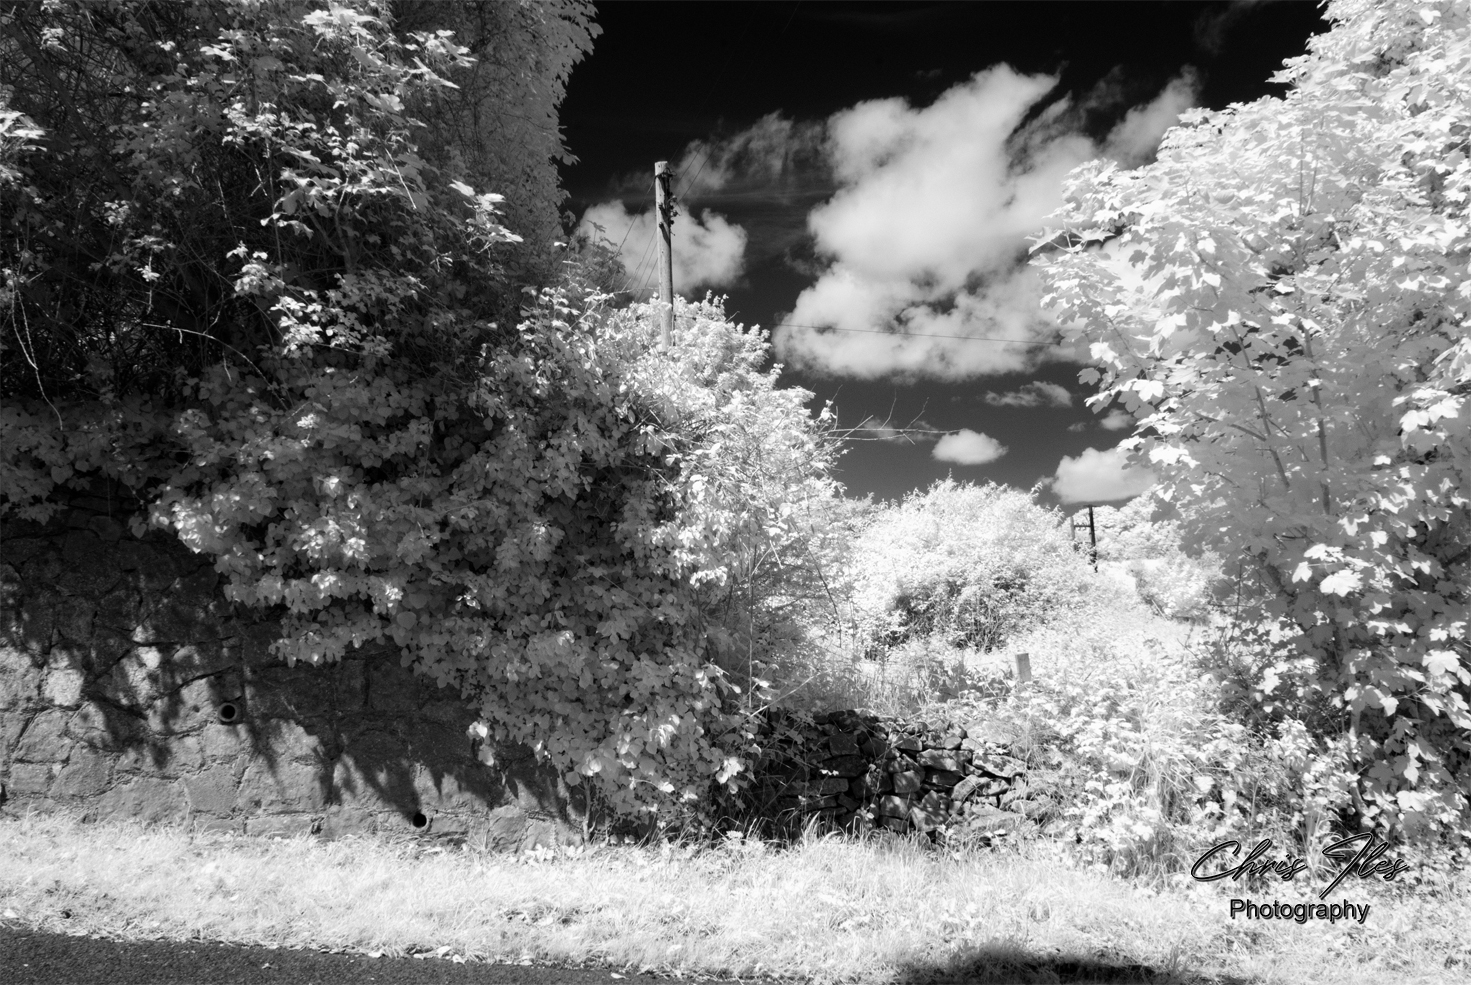
With Digital camera’s, Infra-Red imaging has been made far easier by having the camera converted to Infra-Red. The conversion has the Infra-Red filter permanently fitted over the imaging sensor in the camera body. This has the same end result as the filter over the lens of a film camera, allowing only Infra-Red light to expose the imaging sensor. However, it also allows the viewfinder to be used as normal. Once images are exposed, an amount of image manipulation with Photoshop is necessary depending on the style of Infra-Red image you are aiming to achieve, either false colour or black & white Infra-Red.
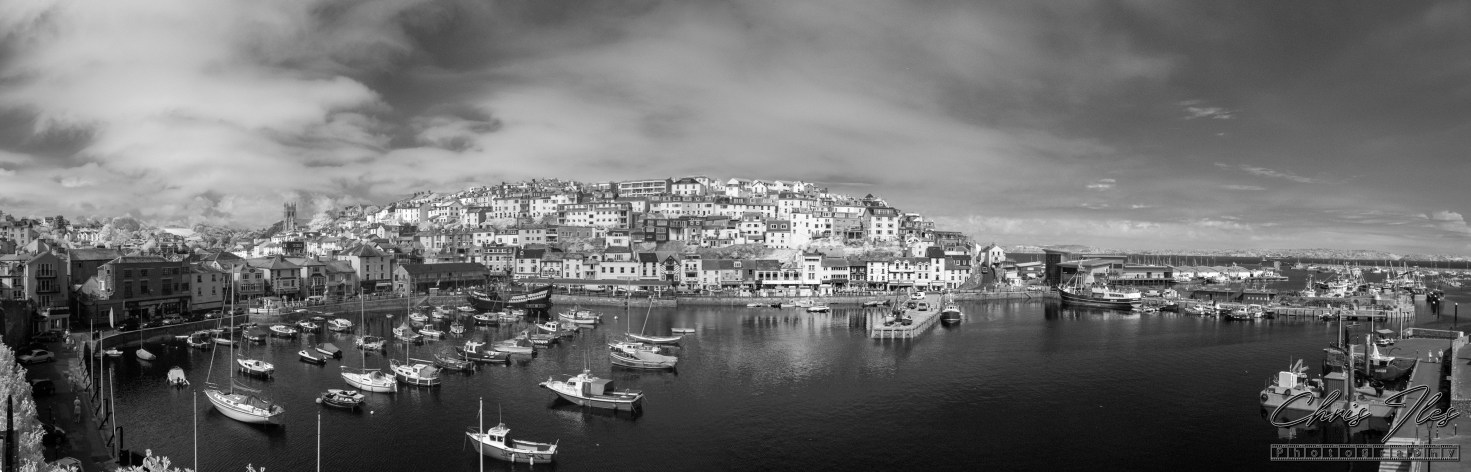
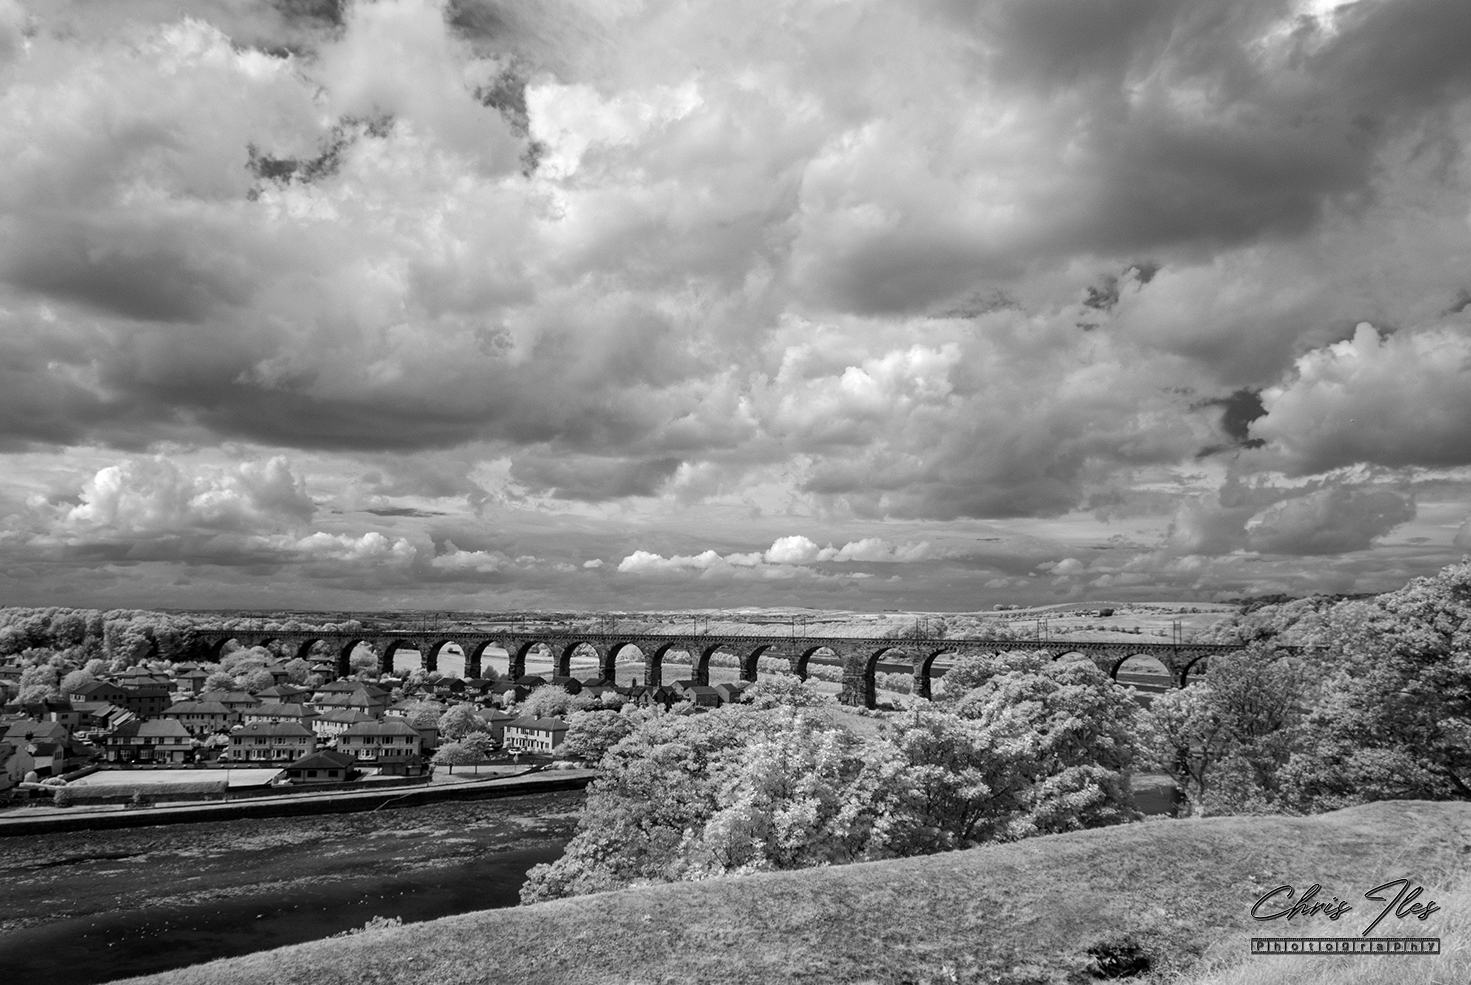
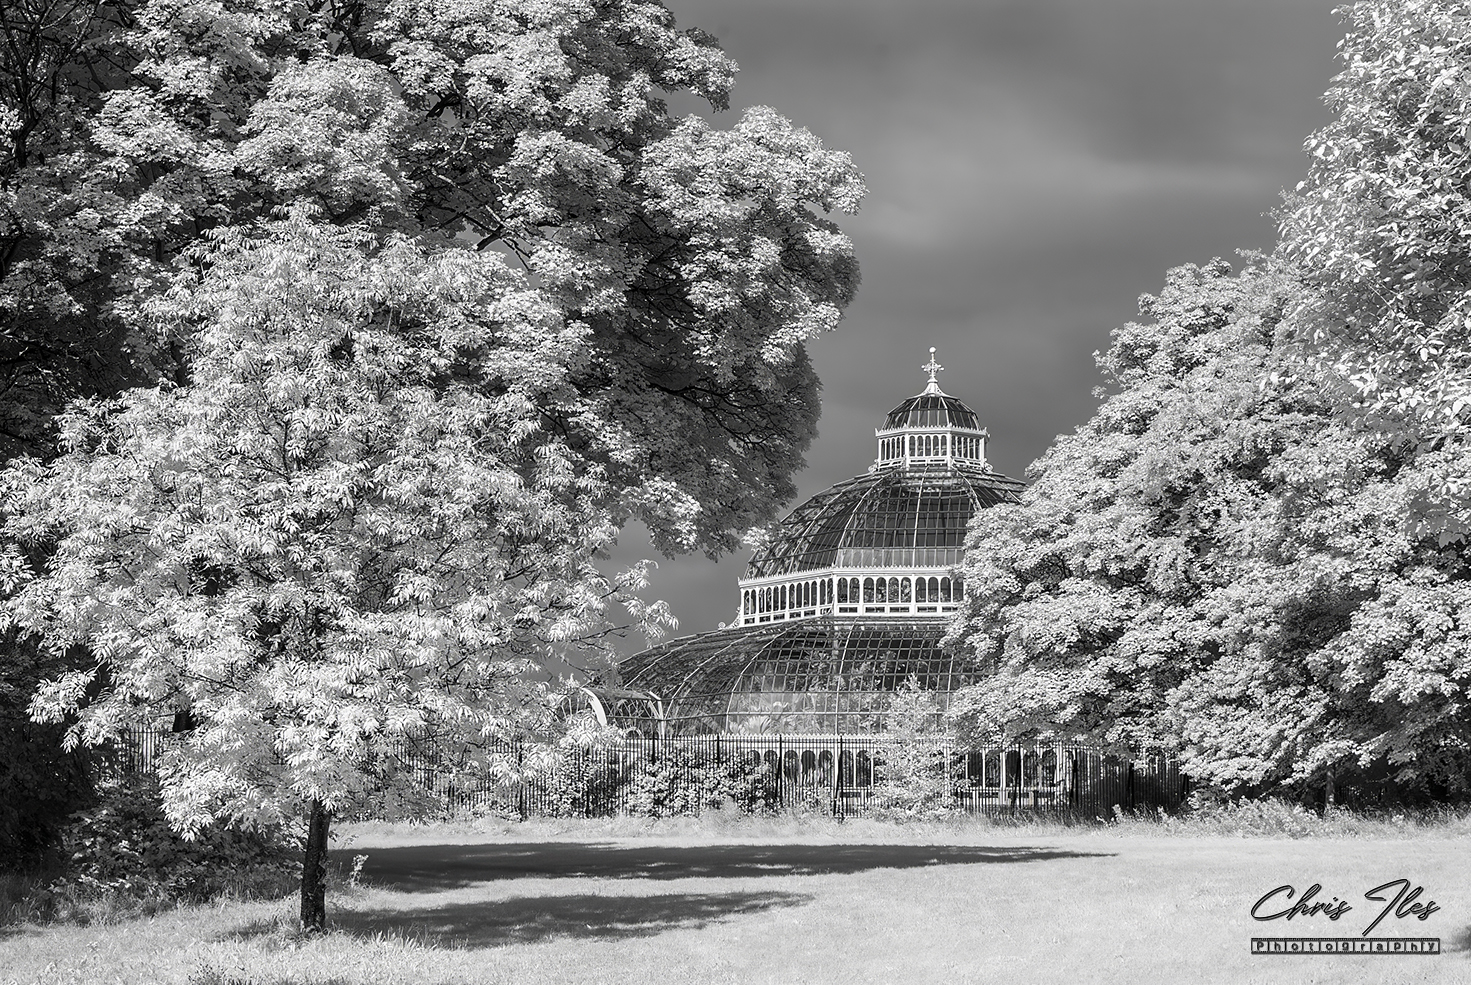
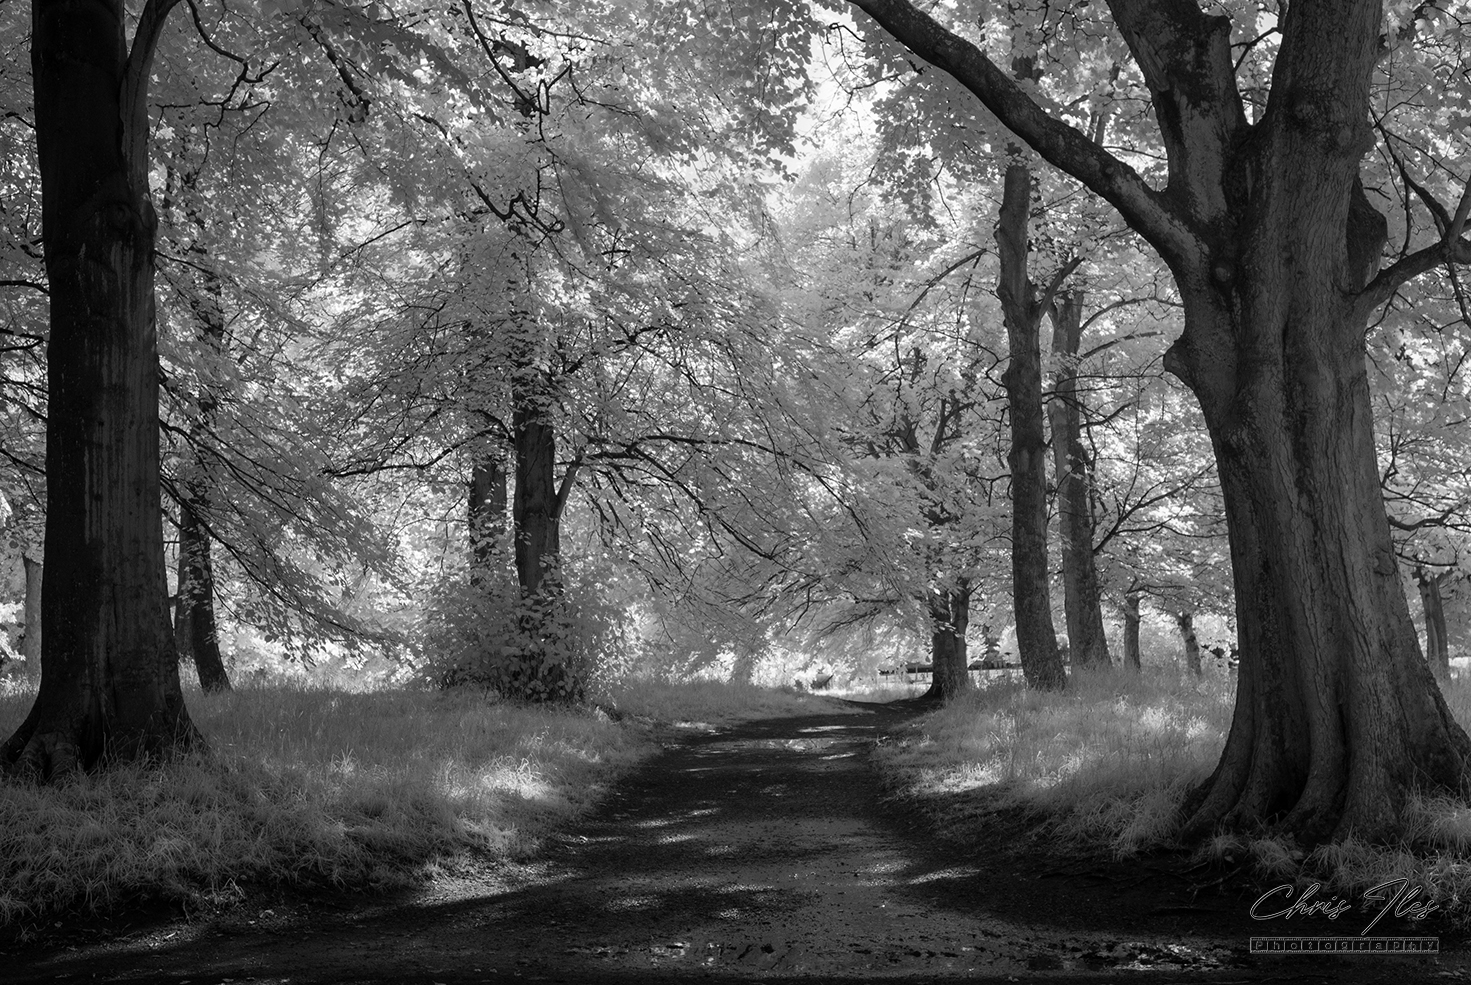
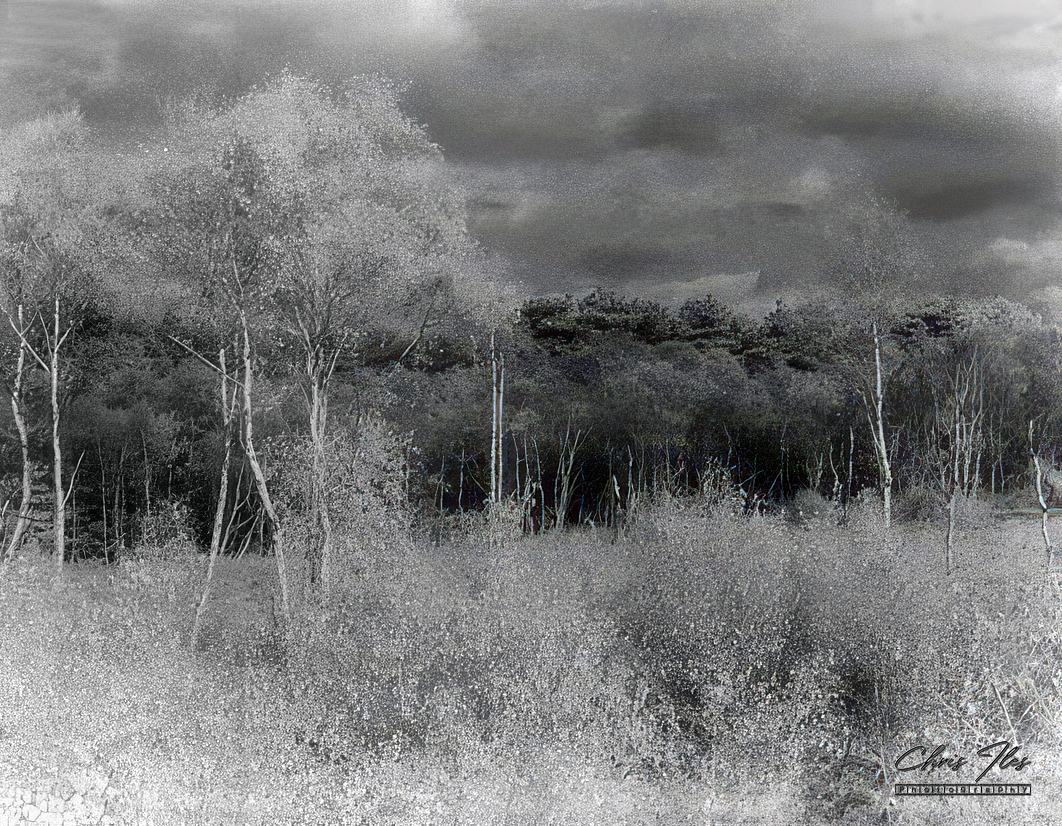
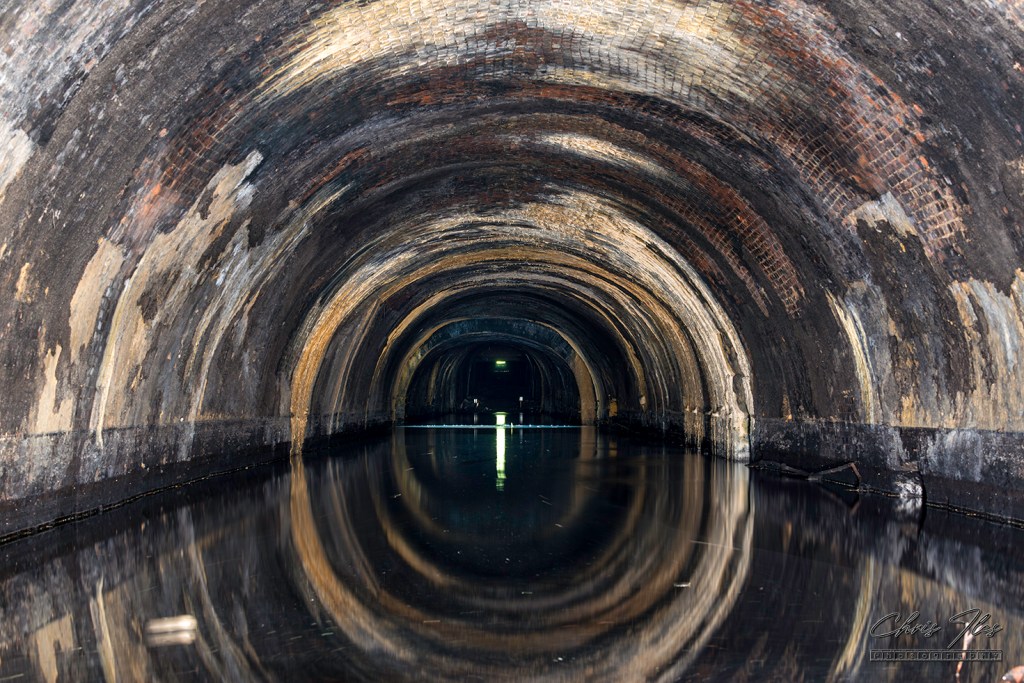
These photographs, were mostly taken on my old Infra-Red converted, Nikon D200, which can only be exposed by light from the invisible infra-red spectrum, not by visible light. However, the last two images, were taken on 35mm Infra-Red film with my Nikon FA.


Random Image Galleries
Random Galleries, updated on each page refresh.
-
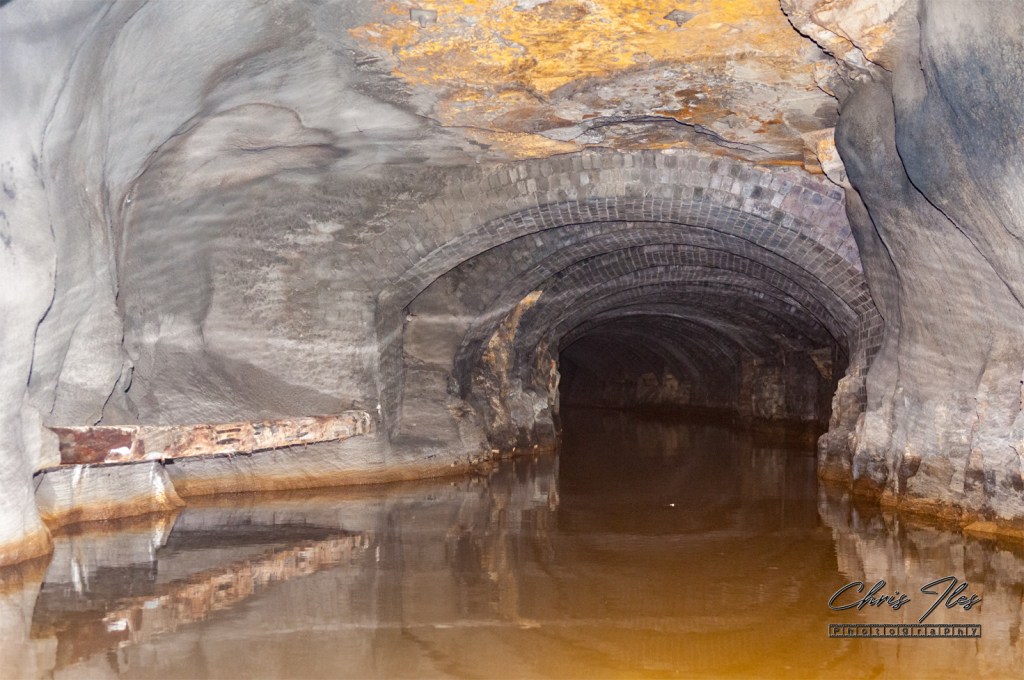
Standedge Canal Tunnel
-

Aerial view of the Pillar of Hercules and the Wapping Cutting
-

Futurist Cinema, Lime Street
-
Wapping Cutting, Wapping Tunnel & the 1829 Crown Street Tunnel, Edge Hill, Liverpool
-

Porth Wen Brickworks, Anglesea
-

Dingle Overhead Railway Tunnel
-

Warrington Transporter Bridge
-
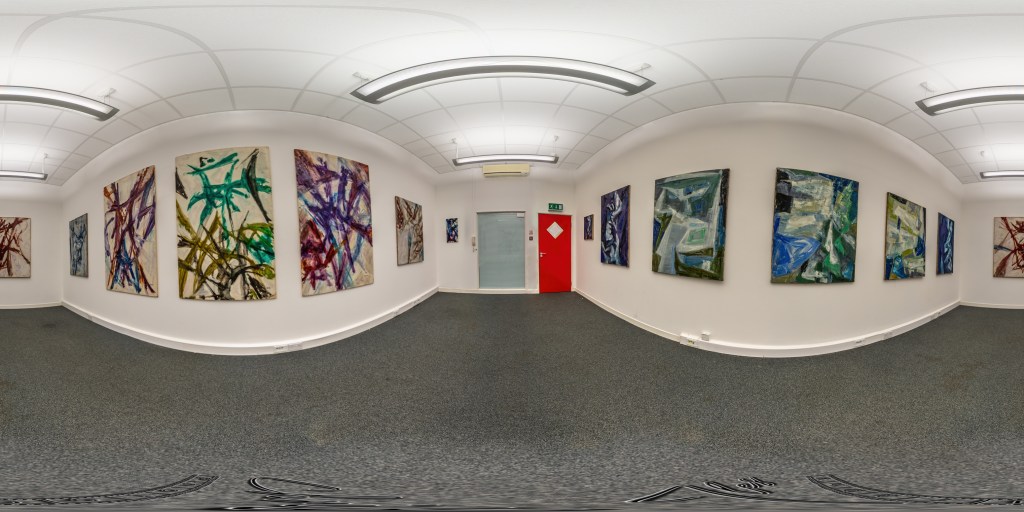
360° VR – General Subjects

Leave a comment